Making an expansion pack
A pack is a folder of TOML files, so any text editor makes one. The expansion workbench makes it easier: it reads your disc for the pickers, re-checks the pack after every edit, paints maps tile by tile and exports the shareable .lxpack - all in the browser, with nothing uploaded. Either way the result is the same files, and the same checks decide whether the engine will load it.
Your first expansion pack
A walk through the workbench from nothing to a shared .lxpack: a small harbour map with a character who talks, a quest, a monster and a boss, a trading card, the checks, a play test and the export. It takes a disc image and a browser; nothing is installed. The screenshots show only the workbench's own forms and the painter's colours - names and textures from the disc stay in your tab.
1. Start from the template
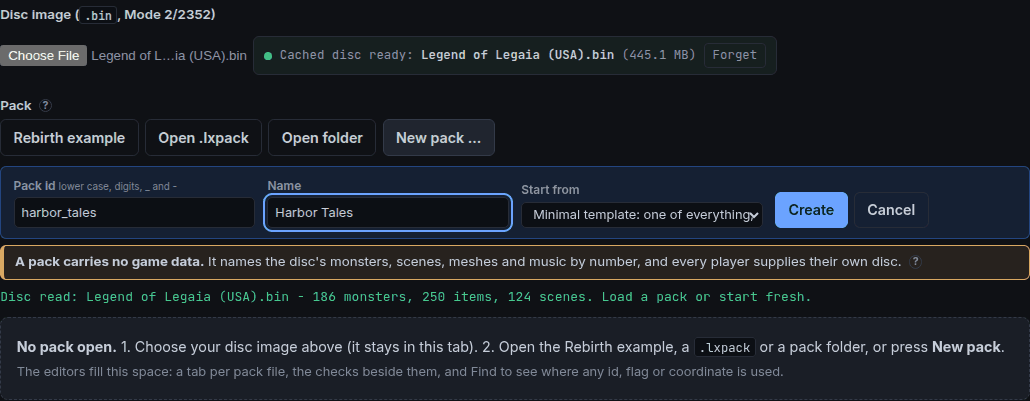
Pick your disc, then New pack .... Give the pack an id (harbor_tales) and a name, and start from the minimal template: one of everything a first pack wires together - a monster made from a retail one, a fight of it, a line of dialogue, a quest to win the fight, and a small sample map with some ground, a few objects and two trigger zones that show the line and start the fight.
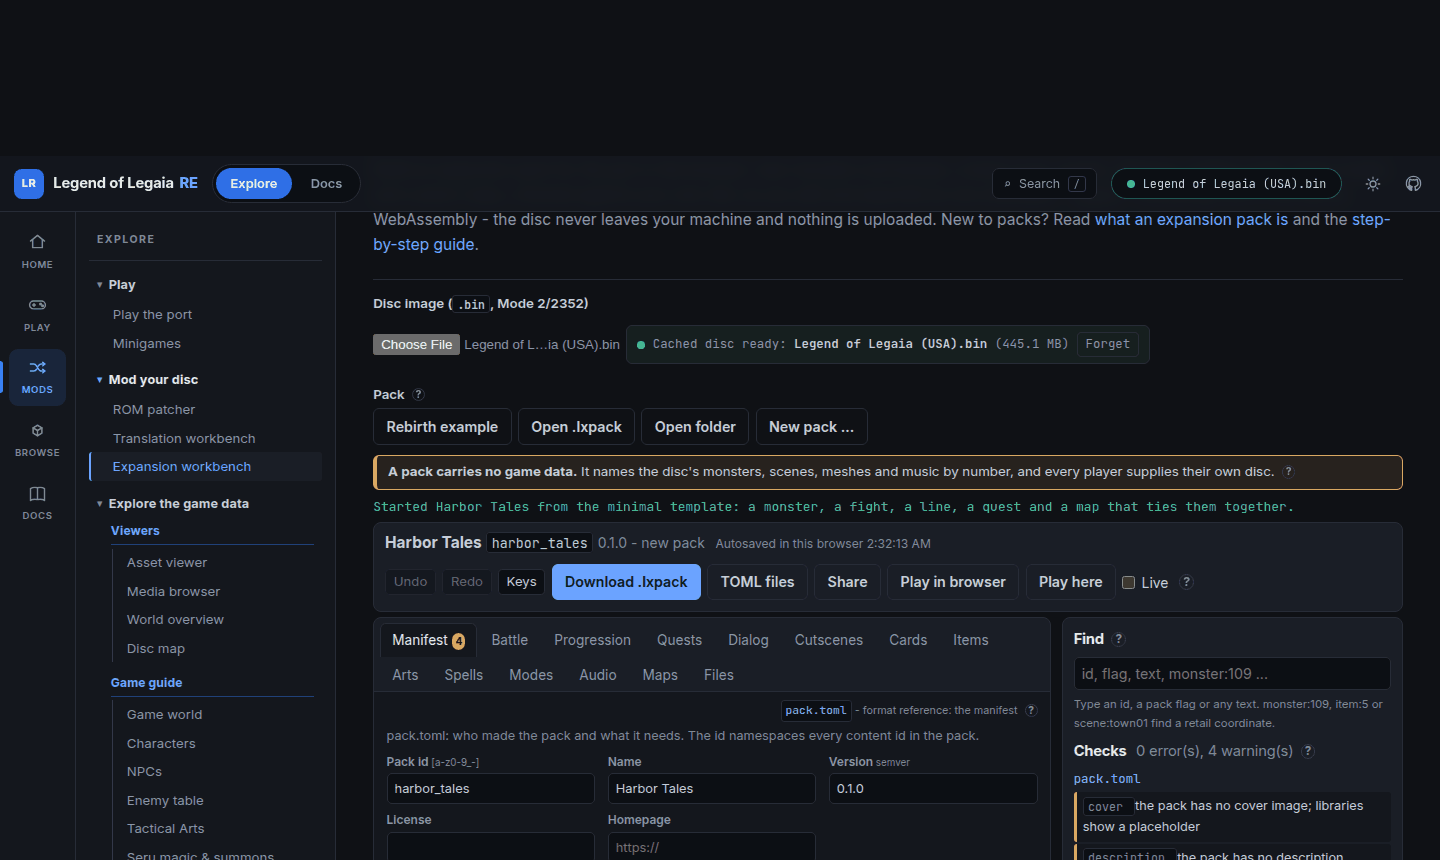
The checks list the pack's three warnings (no description, authors or licence); the Manifest tab fixes them.
2. Place objects, paint the map and add a character
A map opens in Place objects, with the 3D view as the working surface and a palette of objects along the bottom: pictures of what is on your disc, by category, with a search box. Click a picture, and a ghost of the object follows the pointer; click the ground to put it down, R turns it, Esc or a right click stops. Click an object already placed to move, turn, copy or delete it. + New map starts from a small sample you can test-play at once; Fullscreen (F11) gives the builder the whole screen.
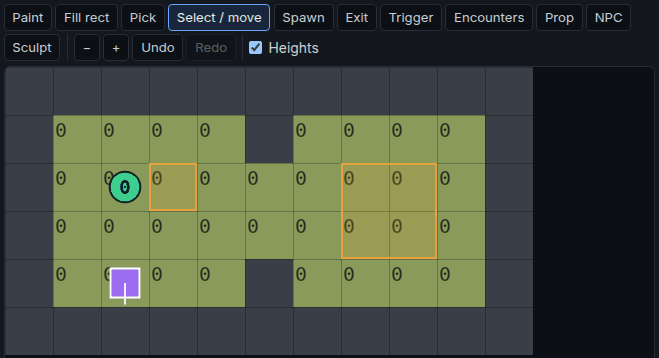
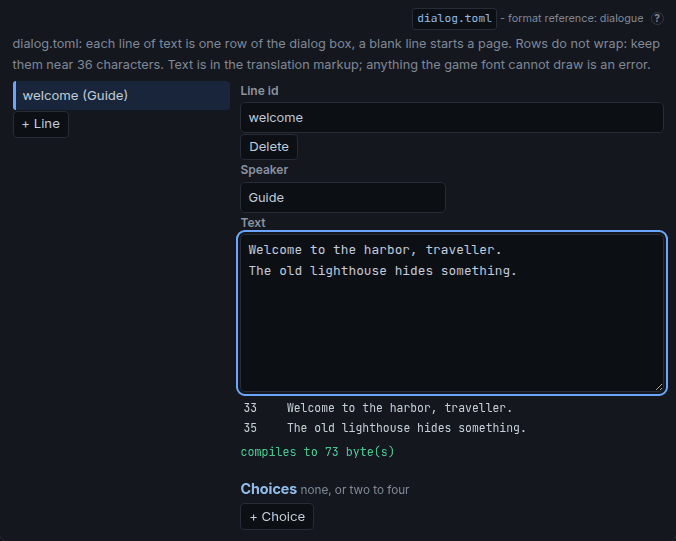
Map settings opens the tile painter and the map's forms in a drawer beside the view. Open its Map settings box and pick a base scene: the map borrows its textures, meshes and characters, and the floor stays yours. Paint with the legend's characters (# wall, . floor), then pick the NPC tool and click a tile. The NPC's form picks its model from the base scene's characters, its line (welcome) and its id (harbor_master, the key a quest's talk objective names).
3. Write a quest
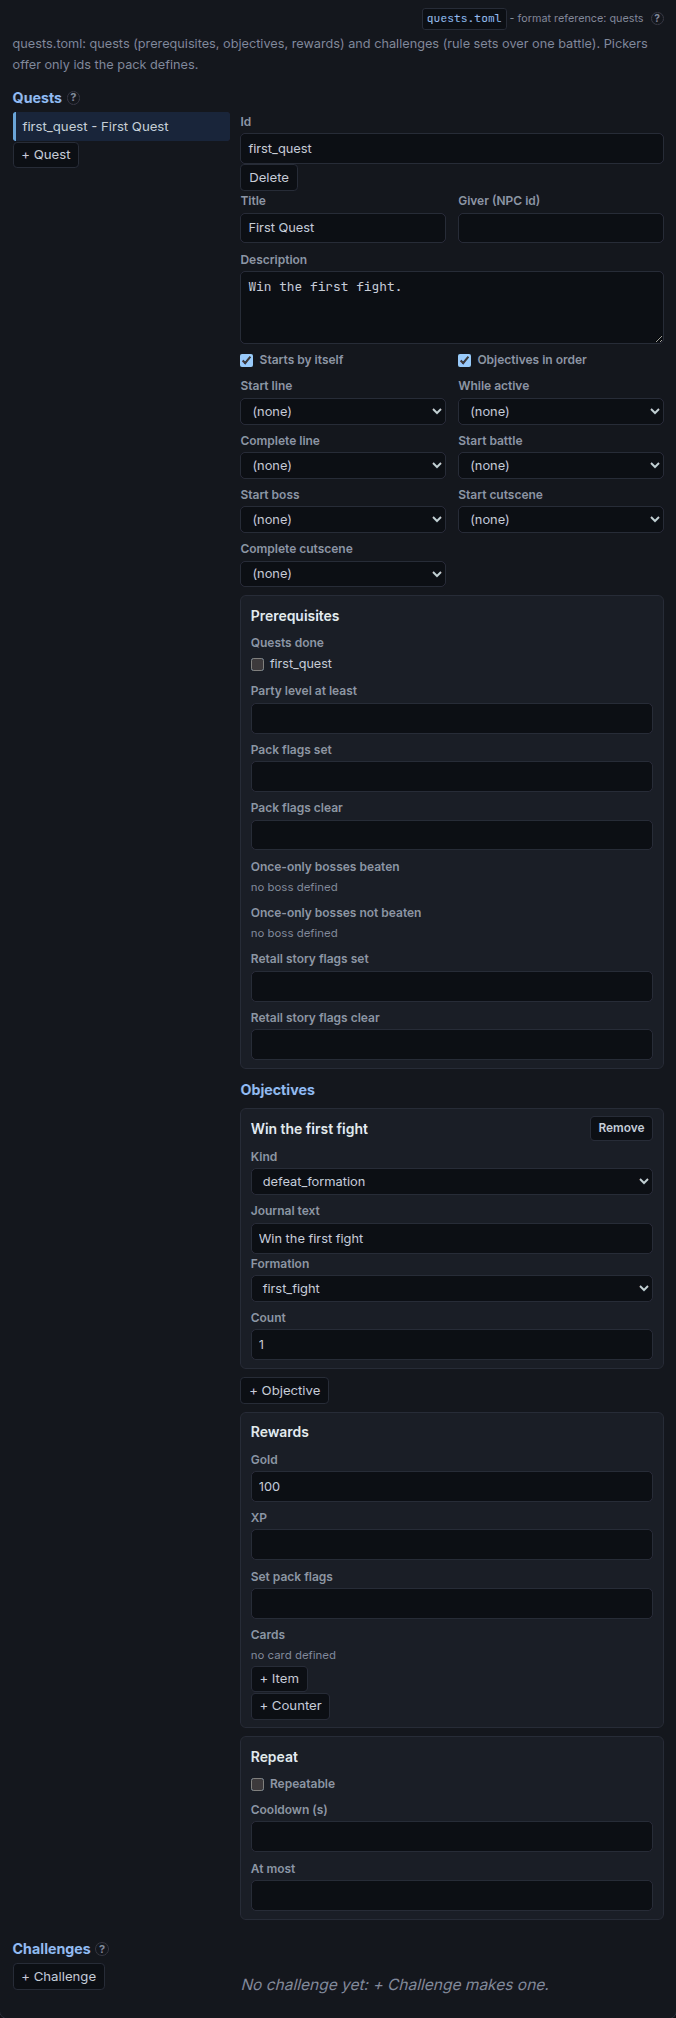
The Quests tab holds the template's quest: an objective (win first_fight), a reward (100 gold) and whether it starts by itself. Add a talk objective on harbor_master and the quest asks the player to speak to your NPC first.
4. Make a monster and a boss
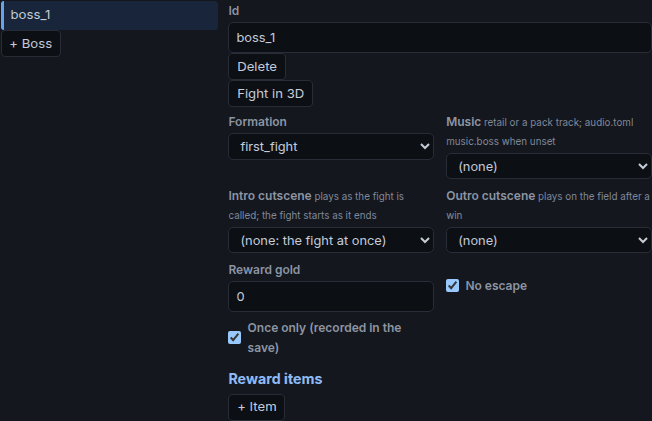
On the Battle tab a monster is a retail one with new numbers: each stat is the base's, a value, or a multiplier, with the retail number beside it, read from your disc. + Boss turns a formation into a once-only boss fight with its own music, an intro and outro cutscene and rewards; Boss script on its monster gives it phases. Fight in 3D starts the fight in the preview.
5. Add a card
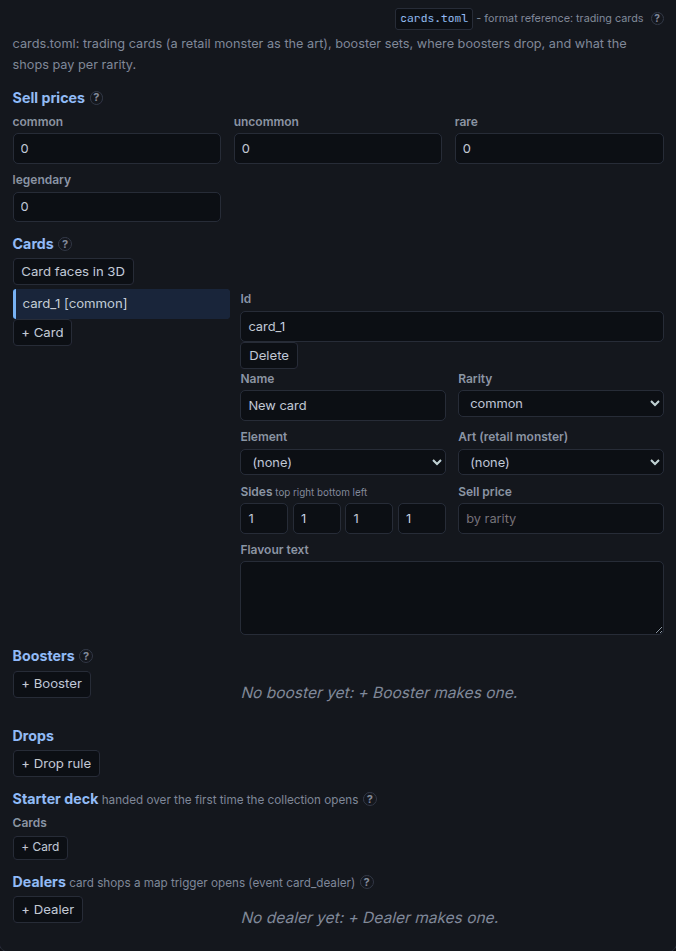
Boosters, drop rules and a dealer make the card collectable; Card faces in 3D shows them as the engine draws them.
6. Read the checks
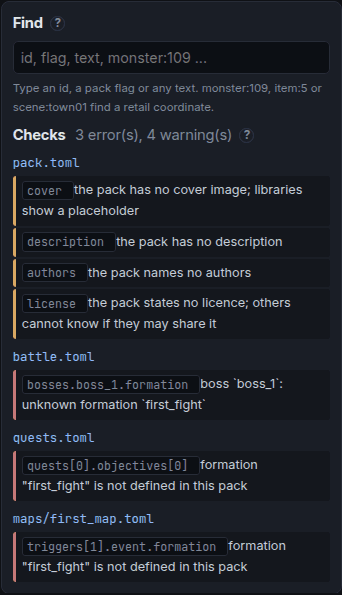
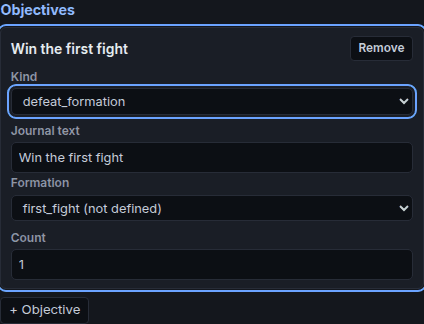
Every edit re-runs the validator with your disc resolving each coordinate. A check names its file and field; clicking it opens the tab, selects the item and focuses the field, and F8 steps through them. A pack with an error does not export.
7. Play it
Play this map opens the play page on the map the Maps tab is on; while that tab is open, the next Play this map (or Live, every edit) reloads the pack in place with the player where they stand. The 3D view draws the map the way the engine builds it, with walls, zones and NPCs as see-through volumes under View, and Fullscreen (F11) takes it edge to edge. Both draw your disc's textures, so they are not pictured here.
8. Export and share

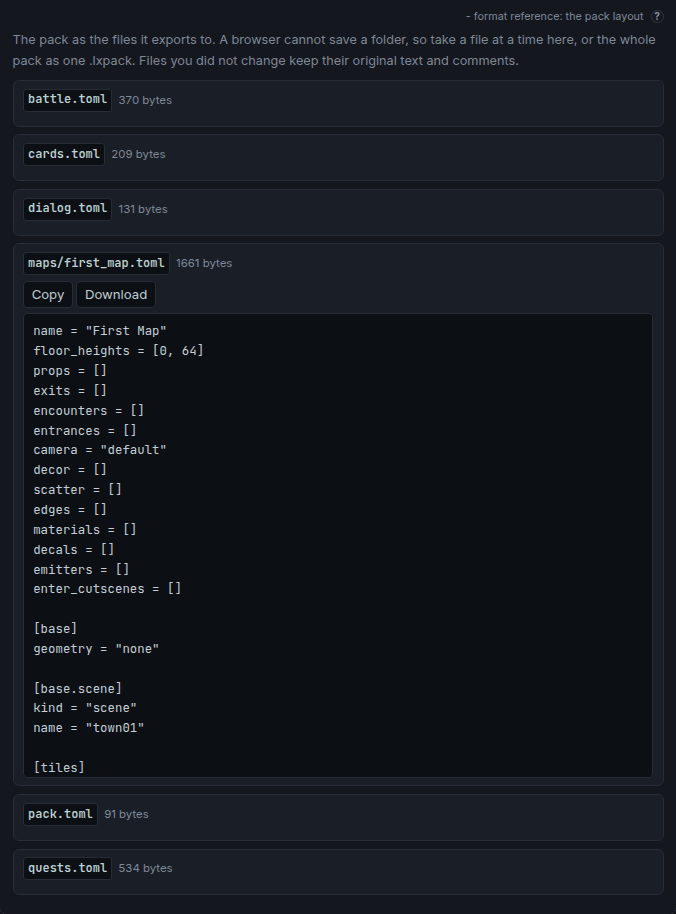
Save .lxpack (Ctrl+S) writes the bundle - this one is under 2 KB, because it holds no game data. Anyone with their own disc opens it on the play page (Load expansion) or in the native port with --expansion. Share sets a cover, compares against an older .lxpack for a changelog and a version bump, downloads the editable sources as a zip, and adds the pack to the play page's library. The Files tab gives each TOML file on its own, for a pack kept as a folder.
On the workbench
- Pick your discThe workbench reads its monsters, items, scenes and music for the pickers. Nothing is uploaded, and no name from the disc is written into the pack: a picker writes the coordinate (
{ kind = "monster", id = 109 }), never the name beside it. - Start from somethingLoad the sample pack (the project's example pack, written to learn from), a
.lxpack, a pack folder of your own, or start a new pack: empty, from the minimal template, or as a clone of the sample pack. - Edit section by sectionOne tab per file. The checks panel re-runs the validator after every edit with your disc resolving every coordinate; clicking an issue opens its tab and focuses the field. Undo and redo cover the whole pack, Find lists every place an id or a retail coordinate is used, Rename changes an id with every reference to it (previewed, one undo step), and the Flow tab draws the pack's progression as a graph with what the player cannot reach, flags read and never set, and rewards nothing grants marked on it.
- Lay out a mapIn Build, a map opens in Place objects with a palette of real objects off your disc along the bottom. Map settings opens the tile painter: paint tiles from the legend, place spawns, exits, trigger and encounter zones, props and NPCs, and turn on Heights to see which cells the floor slopes across. The Detail layer under the painter dresses the floor - decorations, scatter brushes, edge runs, decals, animated materials, lights, fog and particles - each a list form whose tile fields pick on the canvas. For an outdoor map, open the Terrain box and sculpt with the Sculpt tool (K): hills, ridges, levelled pads, a shoreline under water (terrain).
- See it in 3DA map opens in the 3D view, which draws it the way the engine builds it - props, decorations, lights, fog and all - with the tile grid at its corner heights (ramps tinted) and walls, zones, triggers, spawns and NPCs as see-through volumes you can toggle. Map settings puts the painter and the forms in a drawer beside it, and Fullscreen takes it edge to edge. It rebuilds a moment after each edit, and the volumes follow an edit at once while it does; a click in 3D selects the tile in the painter, and Walk from selection drops you onto it with the game's camera. Switch the Edit bar to Select to move, turn and scale props, NPCs, spawns, lamps, emitters and zones with gizmos right in the picture (snapped to the tile or a 32-unit grid, Shift for free), to Sculpt to brush the terrain, or to Paint to lay ground materials - every edit lands in the painter and in undo. A cutscene's timeline draws its camera path there, scrubbed frame by frame.
- Try itPlay this map opens the play page on the map you are editing; while that tab is open, Play this map again (or Live) reloads your edits into it in place, with the player where they stand. Play pack opens the play page with the pack loaded, from the start.
- Share itSave .lxpack, or take the TOML files one at a time on the Files tab for a pack kept as a folder.
The working pack autosaves in the browser, so closing the tab loses nothing; a returning visitor who loads the disc is offered to resume. A file you did not edit exports as the bytes it was loaded from, comments included. Page reference: expansion-workbench.md.
By hand
The smallest pack is a manifest. Each section is a file of its own, and everything in it is optional:
# pack.toml
id = "tower"
name = "The Tower"
version = "0.1.0"
authors = ["you"]
license = "CC-BY-4.0"

# battle.toml - a retail monster with new numbers
[monsters.ironhide_ogre]
base = { kind = "monster", id = 109 }
name = "Ironhide Ogre"
hp = { mul = 3.5 }          # scale the base monster's
exp = { mul = 6.0 }

[formations.ogre_pack]
label = "Ironhide Ogres"
monsters = ["ironhide_ogre", "ironhide_ogre", "ironhide_ogre"]

[[encounters]]
scene = "chitei2"            # Jette's Fortress keeps its fights, mixes these in
retail_weight = 3
formations = [{ formation = "ogre_pack", weight = 1 }]| To add | Write | Reference |
|---|---|---|
| Monsters, fights, bosses | battle.toml | battles |
| A level curve, rewards, enemy scaling | progression.toml | progression |
| Quests and challenges | quests.toml | quests |
| Things people say | dialog.toml | dialogue |
| Scripted scenes: walks, camera moves, fades, branching talks | cutscenes.toml | cutscenes |
| Trading cards and dealers | cards.toml | cards |
| Poker, duels, golf, races, prop hunt | modes.toml | modes |
| A new place | maps/<id>.toml | maps |
Ids are lowercase [a-z0-9_] (cards and mode instances may use -), unique within their kind across the pack, and never carry a : where they are defined. A file under assets/ must be a PNG, glTF, Ogg, WAV or text file - nothing taken from the disc (the rule).
Check and bundle from the command line
asset expansion validate my-pack            # every issue, with file and field
asset expansion validate my-pack --strict   # warnings fail too
asset expansion bundle my-pack -o my-pack.lxpack   # refuses a pack with errors
asset expansion info my-pack.lxpack [--json]
asset expansion unbundle my-pack.lxpack -o my-pack-copy/
None of these reads a disc, so they range-check coordinates without confirming them; the engine and the workbench check them against a real disc. Then play it: legaia-engine play-window --disc "$LEGAIA_DISC_BIN" --expansion my-pack, adding --map <id> to walk straight onto a map (playing a pack).
Add --expansion-watch and the window reloads the pack in place each time you save a file of it, rebuilding the map you stand on with you where you stood; End does the same by hand. A pack with an error is refused and the running one stays, with the reason on the notice line.
Things that catch people out
- One version of each base monster per fight. A pack monster fights under its base monster's id, so a formation cannot hold a pack variant beside the retail monster it is built on (battles).
- Four monsters at once. A battle has four monster seats; more enemies come in waves.
- Heights are corner heights. A raised block of tiles slopes down along its high-X and high-Z edges; turn on the workbench's Heights overlay to see where (tiers).
- An NPC needs a base scene with characters. Its model is one of the base scene's placements; a base scene with none is a check on the NPC.
- An entrance needs a free tile. Pick a rectangle the retail walk reaches and no retail door shares, and give it a
requiresgate if it should open later in the game (entrances). - Dialogue rows are short. No retail text box wraps; keep a row within 36 characters, and the workbench's dialog check shows every row page by page.
The sample pack is the worked example of all of it.